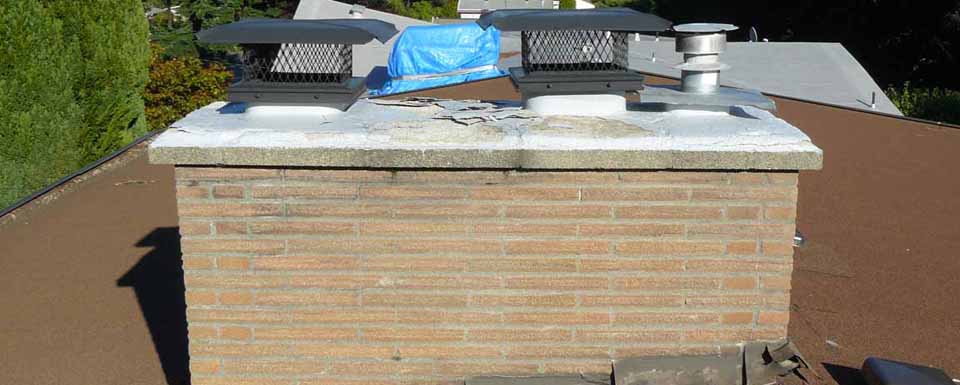
Back when first inspecting our future new home, even then we noticed up near the ceiling this odd white crystallized powder on the bricks of the chimney. Came to find out this white powder crap is called Efflorescence, resulting from excess water inside the chimney structure slowly evaporating, leaving behind these nasty salt deposits, creating a fluffy or fuzzy coating along the exterior of the bricks. The chimney was leaking from within, so it was necessary to go up to the roof, and have myself a closer look.
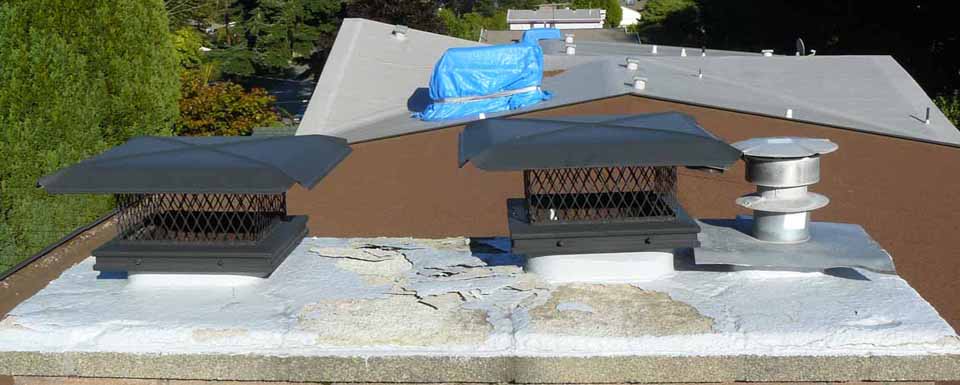
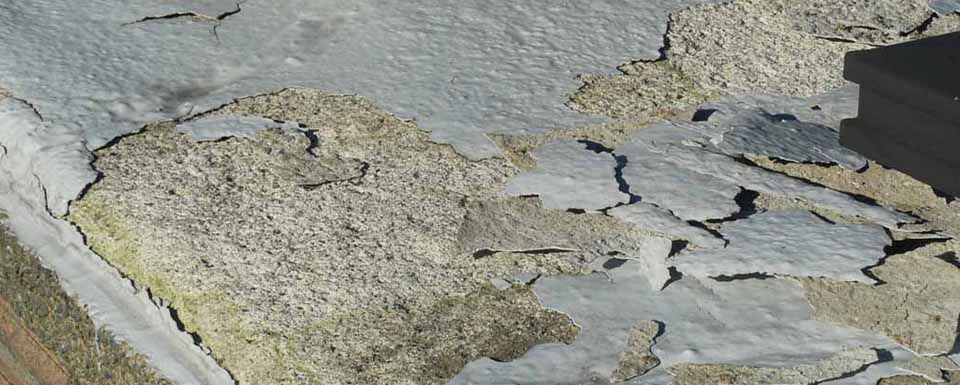
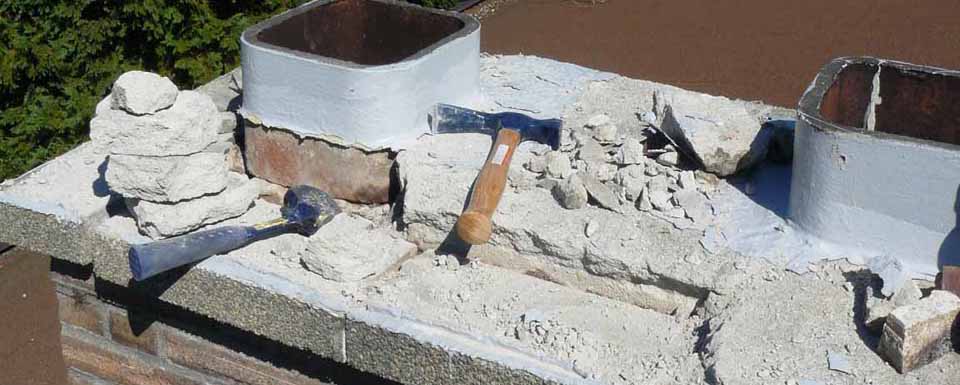
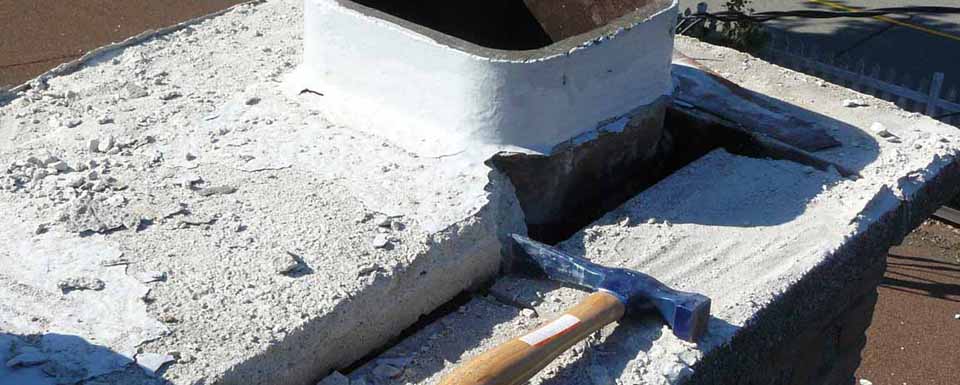
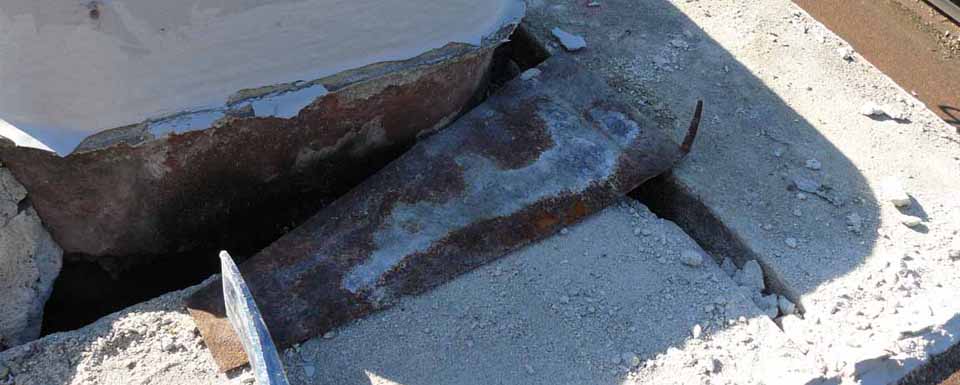
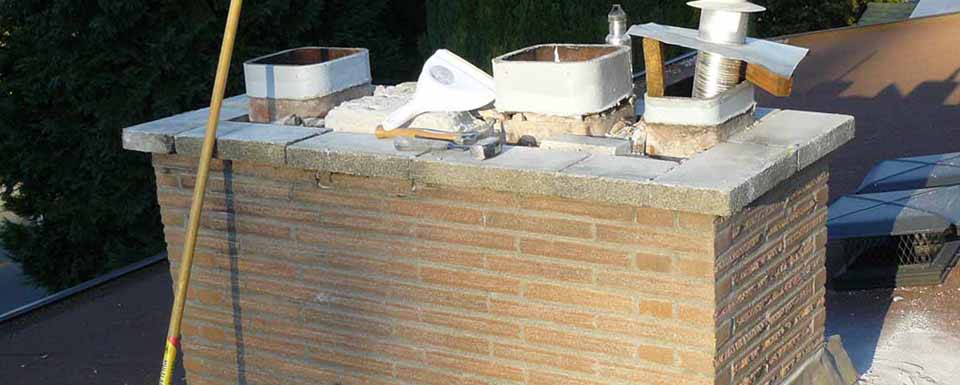
It quickly became evident the chimney cap was completely decayed, the masonry had long cracks running through it, with whole sections of the cement cap that could be lifted off entirely. So what was my first genius quick-fix solution? Went out and bought a can of enamel floor covering used for sealing cement, and brushed half a gallon on to our crumbling chimney cap. Well, that stuff lasted about one winter before enamel started raining down upon our lawn in large flakes. Seems there basically wasn’t even enough good concrete left in the chimney cap for the enamel to stick to properly.
So with another Puget Sound rainy seasons fast approaching, figured I’d use a window of sunny weather to come up with a more permanent solution to the leaky chimney problem. This time I concluded the best option was to completely replace the rotting chimney cap with a freshly poured one. So after watching a few YouTube videos, and Googling assorted web resources, I naturally concluded that of course… This was a job I could easily do myself!
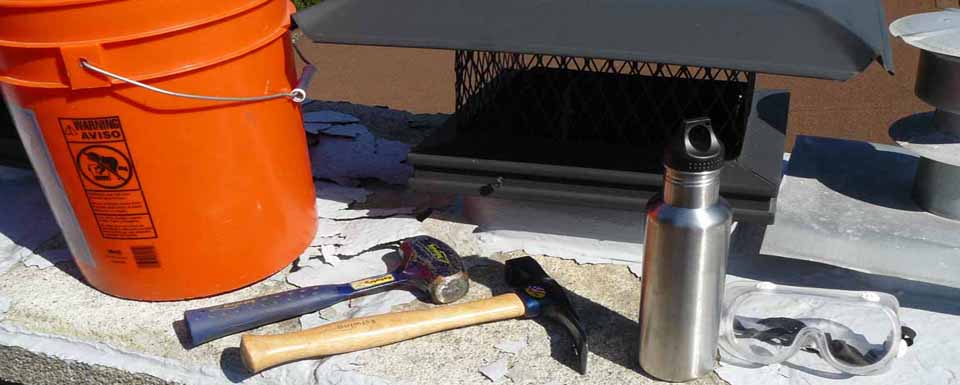
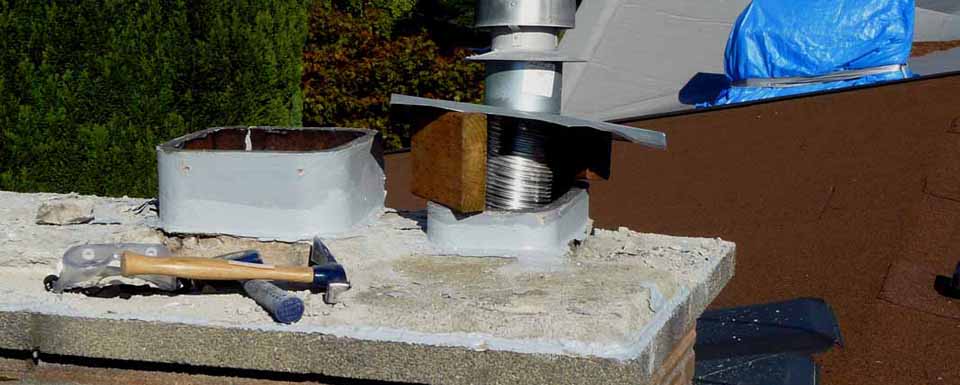
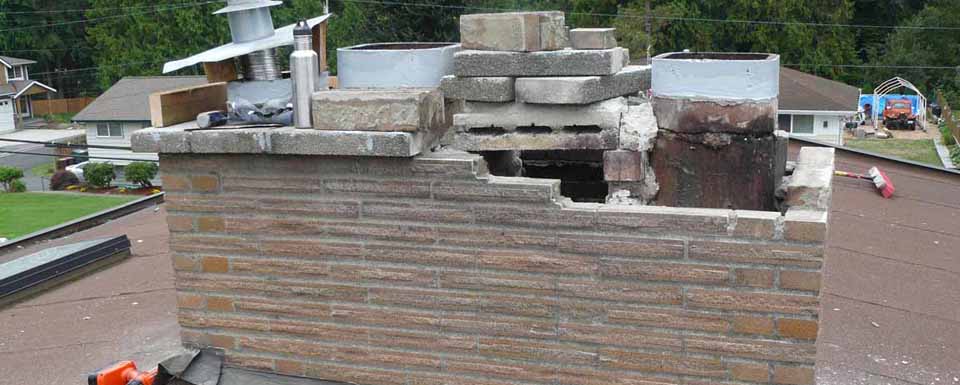
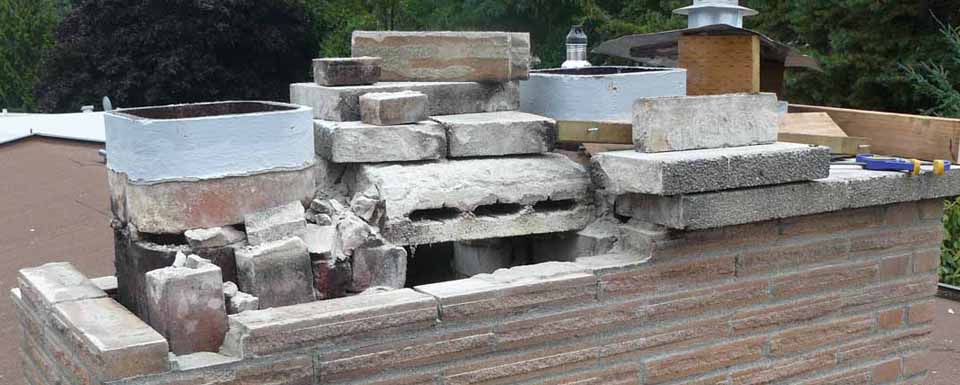
Took up a couple of hammers, a plastic bucket and safety goggles on to the roof, and concrete confetti soon began spreading around me as I started chipped away. The more weathered edges broke off fairly easily, but working in towards the thicker center, the cement there was stubbornly resilient to repeated hammer blows. Soon I discovered the necessity for a more delicate balance between smacking away hard with my big hammer (and thus cracking a brick!) and instead tapping around strategically, searching for hidden cracks reaching through rough chunks of concrete.
As the afternoon wore on up there on the roof, I remained determined to solve this chimney problem once and for all, particularly in light of the view down our street. Looking over the rooftops to our neighbor’s homes, the alternative solution for the problem seems: Just wrap up your old leaking chimney in a giant blue plastic tarp, seal out the moisture with duct tape, and essentially make your fireplace unusable. That solution I was unwilling to accept.
After a few hours of pounding away in the sun, I had removed the last of the old chimney cap, cleaned up the scattered rubble off the roof, and pushed any other concerns out of mind for the night. However, the next day it was totally obvious I still needed to pull out several more bricks, as the mortar between them had degraded into little more than soft, wet sand. Seem to have taken on a slightly larger project than I originally anticipated… again. What a surprise.
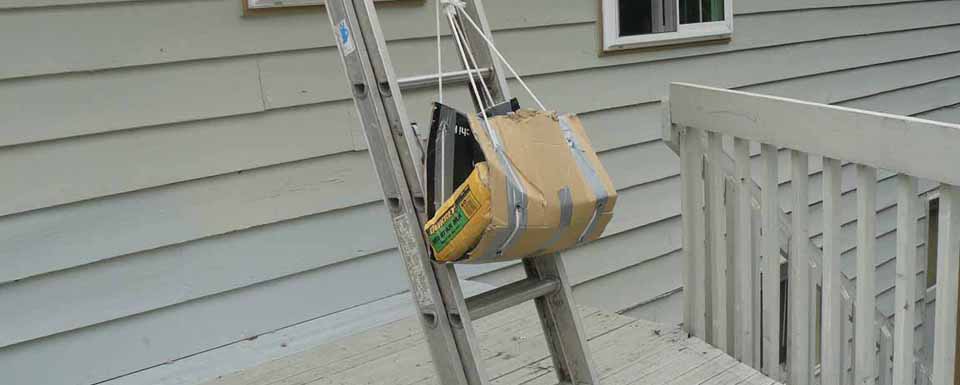
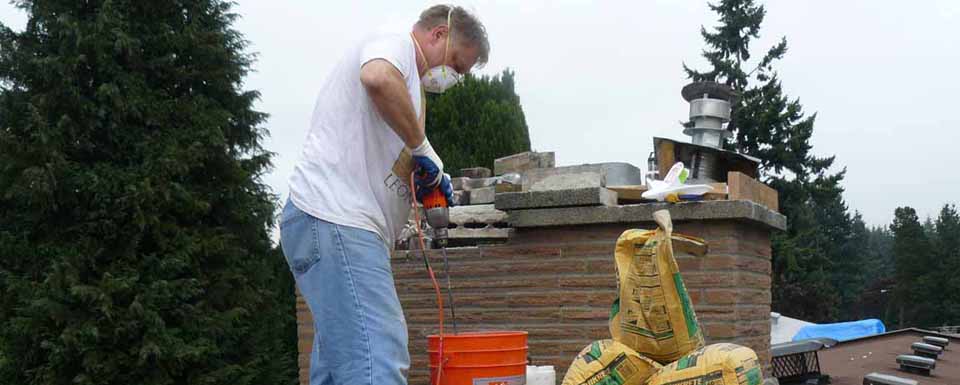
This required cleaning additional bricks of their cruddy mortar, but with everything else more or less prepared, an hour or so later it was time for the main event! Lifted/dragged up five heavy 60lbs bags pre-mixed mortar, stacking them with along with my tools upon a makeshift platform set up beside the chimney. Also brought up the garden hose for water, and extension cord for my old electric drill to mix everything in a plastic bucket. One Lesson Learned: Repeated insertion of one’s hands into mortar during mixing causes abrasive cuts into flesh, which then turns into small lye burns on open wounds. Ouch!
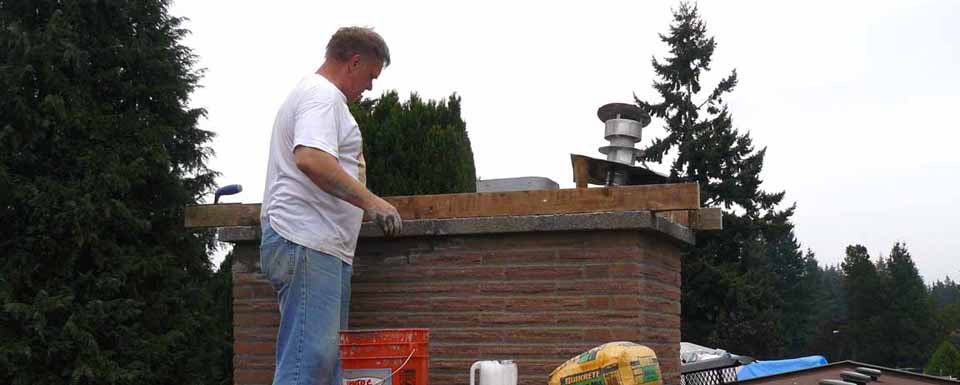
Stared working the more weathered north side, building up the chimney with fresh mortar between the bricks, perhaps a bit too quickly, worried the mortar would set up before everything was back where it belonged. Reached the point of assembling my pre-made 2×4 wooden form on top of the crown bricks about the time Andy returned from school, so he joined in on the fun too. Andy was up there on the roof, squirting water into the mixing bucket, and helped to finish off the cement cap, spreading and smoothing out the last of the mortar. Once every bit of the mix was removed from the bucket, I sculpted the surface of the soft cement cap as best I could, cleaning my tools as the last summer sunlight was fading on the horizon.
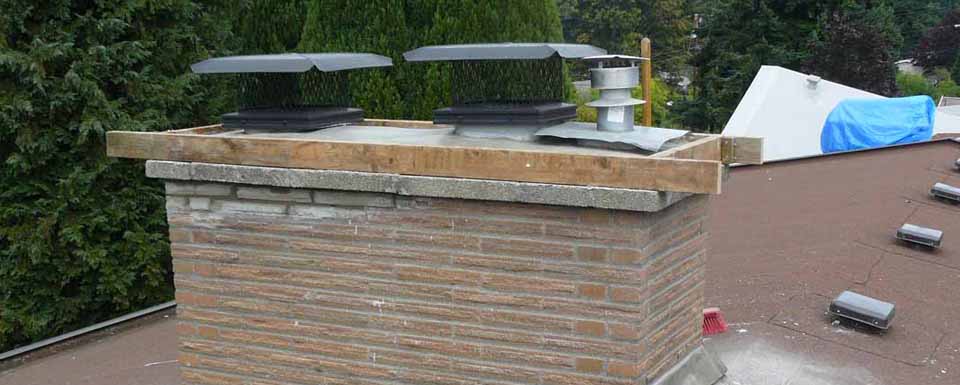
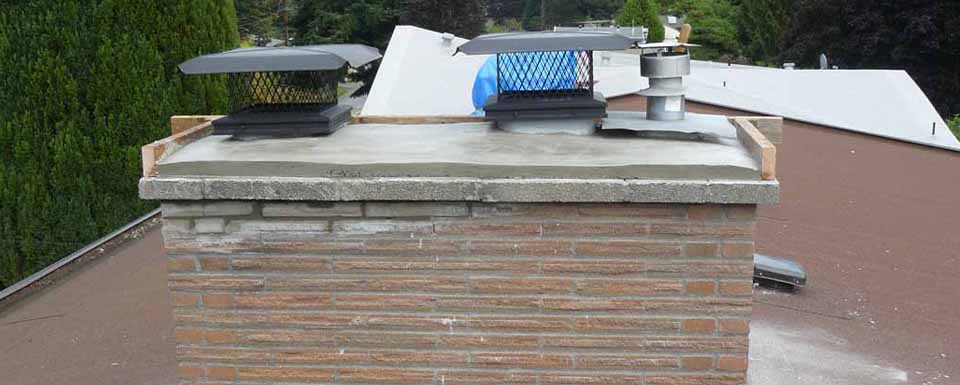
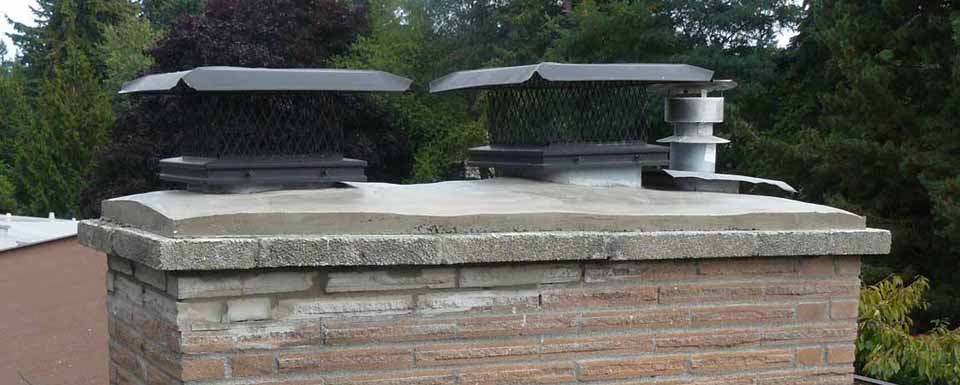
Went back up on the roof the following day to inspect my completed efforts. Took off the one side of the form, anxious to see how thick the finished pour actually was. Noticed a couple small areas along the edge not completely filled with mortar down to the crown bricks, but after removing the remaining 2×4’s, was relieved to see a substantial pour of overall consistent thickness and texture throughout.
Guess I could fairly say this project was a success, and not simply by saving money doing it myself. This replacement cap should keep water out from inside the chimney in the future, and doubtless remortaring those few additional rows of bricks will make the whole thing that much more solid. Still, there are details I would have done differently had I known… Such as spending more time in better preparation, cleaning the old crud off those extra bricks better, and replacing them with fresh mortar in less of a frantic fashion. Also, wish I had taken the form off the cap when first completed that night before, when the mortar was still malleable, and turned this thick slab into something with a smoother beveled edge. Of course… Hindsight is always 20/20, isn’t it then?
Suppose I should just be thankful nobody was hurt, or fell off, working as we did this past Friday the 13th high up on the roof together! What better success could the typical DIY amateur ask for anyway?
“Masonry was not made to divide men, but to unite them, leaving each man free to think his own thoughts and fashion his own system of ultimate truth. All its emphasis rests upon two extremely simple and profound principles, love of God and love of man.”
– J. F. Newton

